
Thinking about donating your car? Great choice! Not only are you clearing up space in your driveway, but you’re also doing something genuinely good for others — and maybe even earning a tax deduction in the process.
But before you wave goodbye to your vehicle, there are a few simple steps to ensure the process goes off without a hitch. From paperwork and prep to pick-up and tax benefits, here’s your complete car donation checklist — designed to make the experience smooth, secure, and rewarding.
1. Find the Vehicle Title
The title is one of the most important items you’ll need to donate your car. It proves that you are the legal owner and have the authority to transfer the vehicle. Most charities can’t accept a donation without it, so take a moment to locate your title before starting the process.
If you can’t find it, don’t panic — it happens more often than you’d think. Your state Department of Motor Vehicles (DMV) can typically issue a duplicate title for a small fee. Some states even allow you to apply online. Be sure to request it early to avoid any delays. Double-check that the name on your title matches your ID and that there are no liens listed. If a loan was ever attached to the car, make sure it’s paid off and cleared before transferring ownership. This will prevent any confusion when your charity goes to process the sale or donation paperwork.
2. Take Out Your Belongings
You’d be surprised how often personal items get left behind in donated cars! Before the tow truck arrives, give your vehicle a thorough sweep. Check under the seats, inside the glove box, door pockets, trunk, and center console.
It’s easy to overlook small things like garage door openers, sunglasses, or that phone charger you keep plugged in. If you’ve ever stored emergency cash, registration papers, or important documents in your car, now’s the time to remove them.
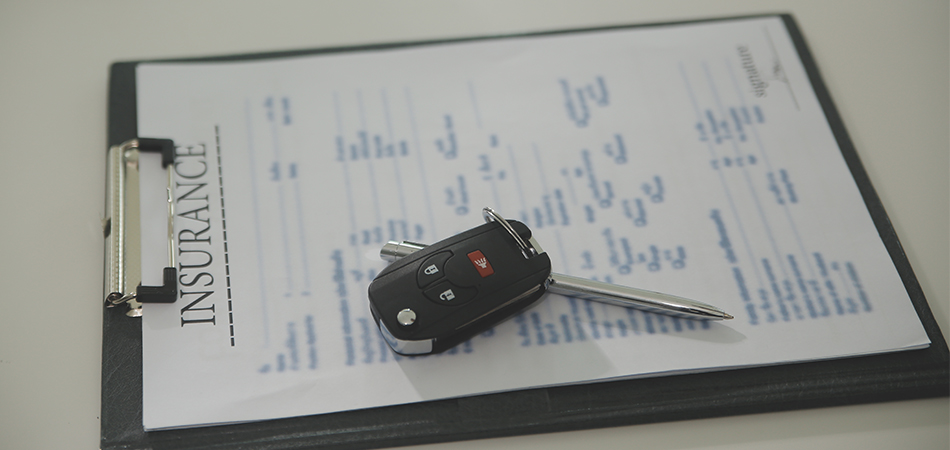
You may also want to remove personal information such as registration cards or insurance papers that include your address. Once your car changes hands, you won’t have access to retrieve them. A quick double-check before pickup can save you a lot of trouble later.
3. Gather the Vehicle’s Information
When you contact a car donation program, they’ll likely ask for a few key details:
Be as accurate as possible — honesty helps the charity maximize your donation. For example, if the car runs but needs minor repairs, the nonprofit might decide to fix and resell it for a higher value. If it’s not drivable, they can still sell it for parts or scrap metal.
Knowing your vehicle’s information in advance speeds up the donation process and ensures everything is handled correctly. Keep your title and any related paperwork in a safe place until pickup day.
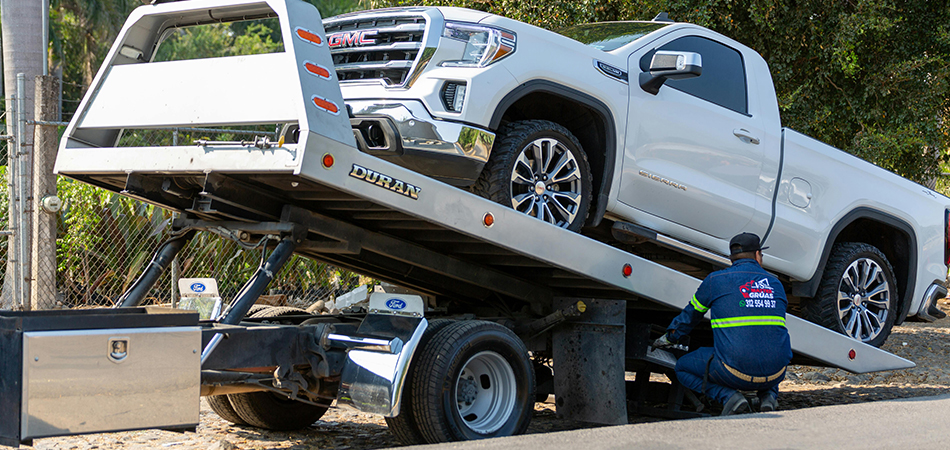
4. Get Ready for Pickup
One of the best parts of donating a vehicle is that most programs offer free towing. Once your donation is scheduled, confirm the date, time, and location of the pickup. If you can’t be home, you can usually leave the keys and title in an agreed-upon spot.
Before the tow truck arrives, remove your license plates if required by your state’s DMV. Some states ask that you return them or transfer them to another vehicle. You’ll also want to cancel your car insurance after the pickup to avoid being charged for a vehicle you no longer own.
When the driver arrives, they’ll collect the title and keys, and you’ll receive a towing receipt or confirmation. This document is worth keeping until you receive your final donation acknowledgment. It provides proof that the car is no longer in your possession and has been handed over to the donation organization.
5. Save the Tax Receipt
After your car has been sold or processed, the charity will send you a tax-deductible donation receipt. This is a critical document if you plan to claim your deduction, so be sure to keep the receipt safe. You’ll need it when filing your taxes.
If the value of your donation exceeds $500, you’ll also receive a Form 1098-C. You can find more detailed information regarding vehicle donation tax credits here, or you can refer to the IRS Donor’s Guide to Vehicle Donation.
6. Notify the DMV (and Your Insurance Company)
Once your car is picked up, take a moment to officially notify your state’s DMV that you’ve donated your vehicle. Many states require a Notice of Transfer or Release of Liability form to remove your name from the title record. This protects you from any future tickets, tolls, or legal responsibility for the car.
You should also contact your auto insurance provider to cancel coverage. Some insurers will even refund unused premiums. It’s a quick step that ensures you’re not paying for insurance on a car that’s no longer yours.
7. Double-Check the Charity’s Credentials
Before donating, it’s wise to confirm that your chosen charity is legitimate and eligible to receive tax-deductible donations. Look for organizations that are recognized as 501(c)(3) nonprofits by the IRS.
You can verify a charity’s status through the IRS Tax Exempt Organization Search or by checking with independent watchdogs like Charity Navigator.
Donating to a verified program like DonateACar.com ensures your vehicle goes to an established organization that works with reputable nonprofits nationwide.
8. That’s It — You’re Done!
Donating a car is easier than you might think. With the right preparation — from gathering your title to saving your tax receipt — you can complete your donation confidently and stress-free.
In just a few steps, you’ve turned your old car into something far more valuable: meals for families, shelter for those in need, transportation for community programs, and resources for causes that make a difference every day.
Whether your car is in perfect shape or hasn’t run in years, it still has the power to drive positive change. So grab your checklist and take the first step toward making an impact by choosing a charity to donate to.
Your car’s journey may be ending — but its story of giving is just beginning.